Installation Guide

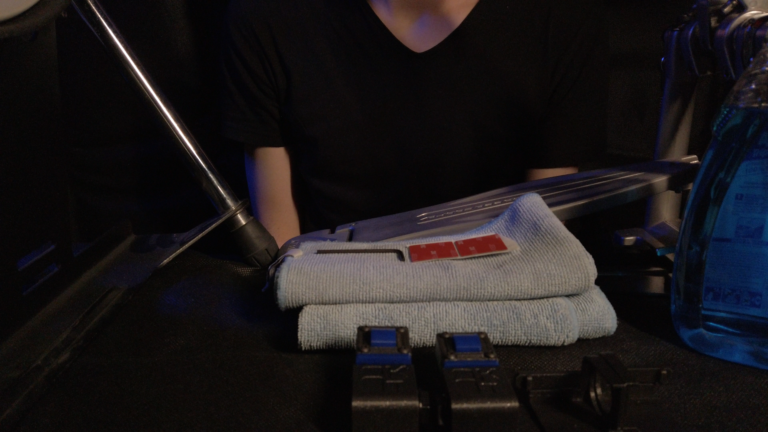
Welcome to the installation guide of your Kaptors! You will find a step by step just below. If you have any further questions, don’t hesitate to write to us. Have fun using Kaptors!

New version update : we are working to update this section for the new version. Meanwhile, you can follow the steps of the first version except the implementation part. You will find more information below.

What you will need for the installation :

  • Some degreasing products (for example glass cleaner)
  • Two dry rags
  • Your Kaptors (and the kaptors mounting system if you have it) with the double face tape
  • The Allen key supplied in the box
  • Two Jack cables Mono : 1/4” – 6.35 mm

Step 1

  • First, you will need to clean the surface where you will put the Kaptor to maximize the effectiveness of the tape. To accomplish that, just put a bit of degreasing product on one drag and clean the surface.
 
 
  • Then, with the second rag or a dry section of the first one, wipe off the traces of the cleaning product, and make the surface VERY DRY or the tape won’t hold! 

Step 2

  • Once the surface dry, find a good spot for your Kaptors, we recommend putting them around the middle of the pedal, and on the outer edges, so you can access them more easily. The mounting direction of your Kaptors doesn’t matter. 
 
 
  • Once you’ve spotted the place, fix your Kaptor on the pedal. Press and hold a few seconds.
 
 
  • Thereafter, with the Allen key, loosen a bit the screws, so you can adjust the high of the sensor. 
 
 
  • Put your pedal on your bass drum or whatever you use as a bass drum (practice pad…)
 
 
  • With your hand, press your pedal to make the beater touch the head of the bass drum. At this point, you must see that the pedal is in contact with the Kaptor. If that’s the case, tighten the screw, if not, adjust the high of the sensor to be in contact with your pedal and then tighten the screw.

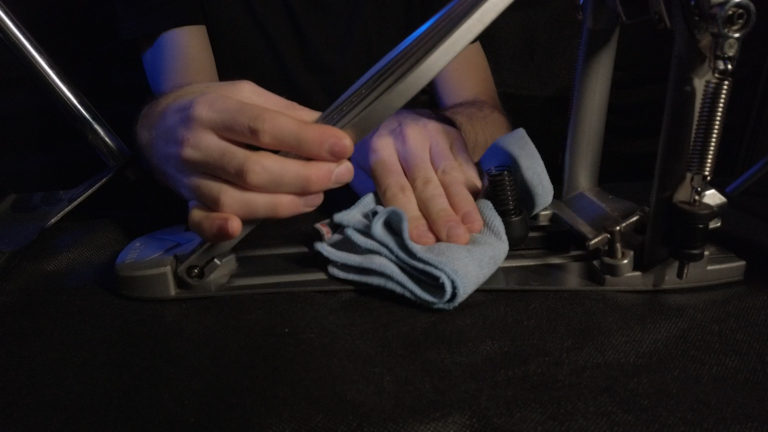
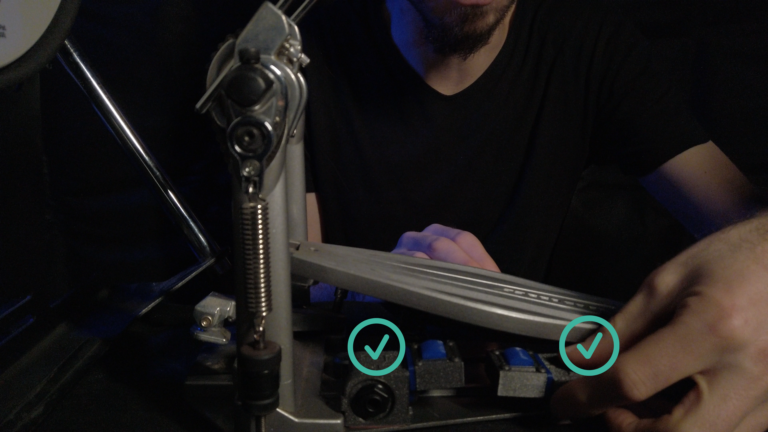
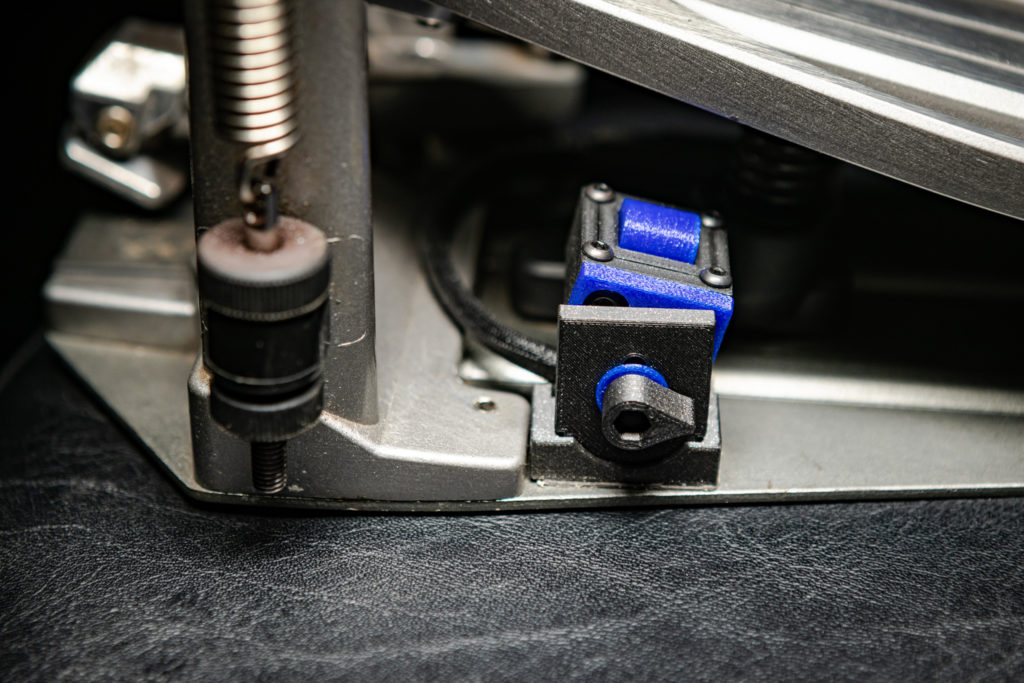
New version : we recommend that you install the triggers at 90 degrees to the base of the pedal. This way you can easily access the height adjusting handle, and you can adjust the angle of the sensor to match the angle of the board of your pedal.

DON’T HESITATE TO TIGHTEN THE HANDLE VERY STRONG

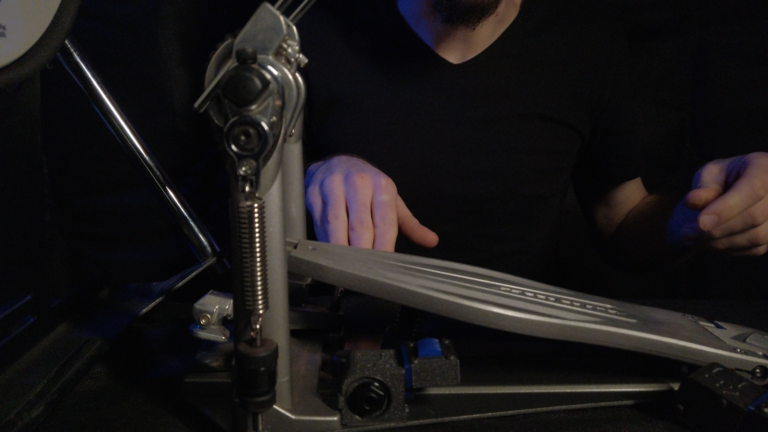
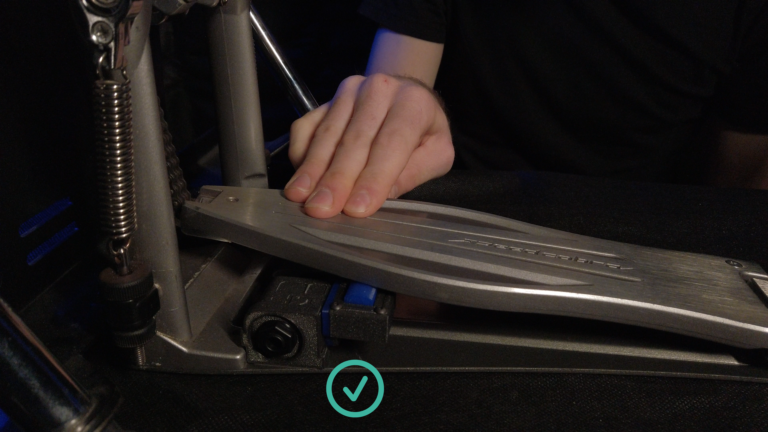
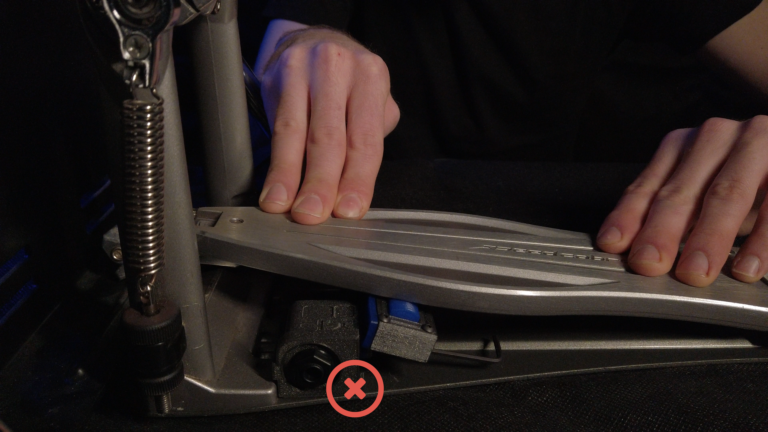
WARNING : we recommend that the sensor should not be overly constrained by the pedal, it can bring some false triggering.

Step 3

  • Do the same on the other pedal! 

Step 4

  • Plug your Kaptors to your drum module using 1/4” – 6.35 mm Mono Jack, set your drum module and PLAY!! 

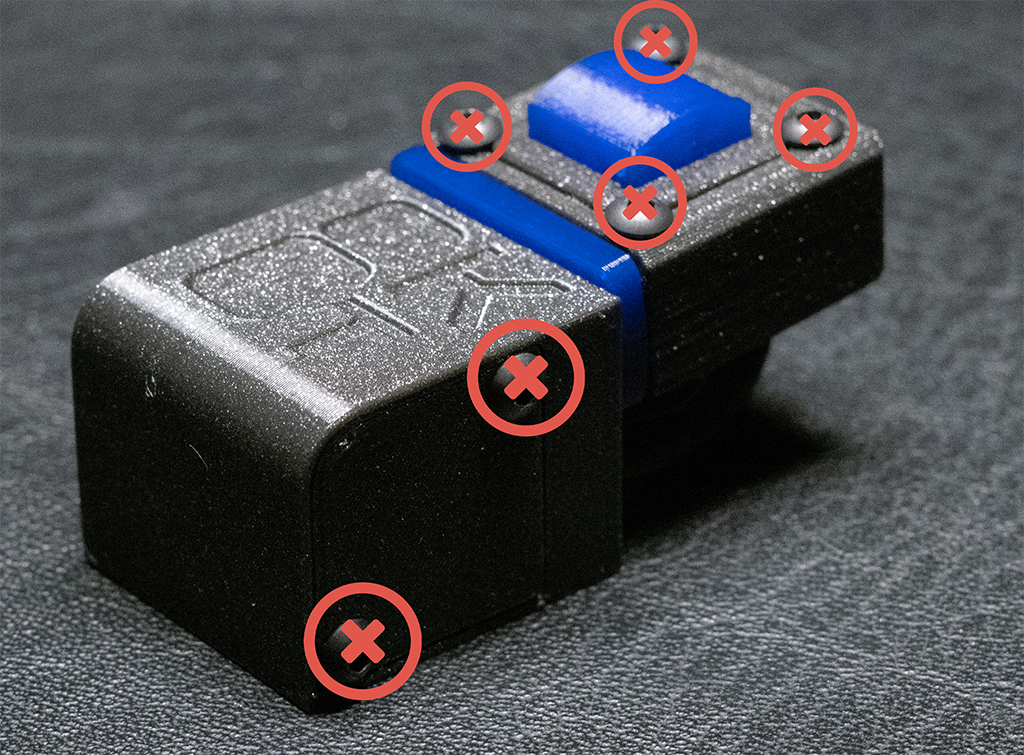
DON’T TRY TO UNSCREW THESE SCREWS !! It will irretrievably damage your Kaptor.

Drum module setup

With all the feedbacks from our clients, we’re now able to establish a list of recommendations to set up your drum module that fit with our triggers. Of course, the possibilities are not the same from one module to another, so if yours is not in the list, please contact us, so we can find the best possibilities for you. Please keep in mind that it’s only some advice, and you may have to change them a little bit regarding your playing. We will soon post an article who explains the effects of the different setups.

  •  Input : PAD X2.


  • Trigger Type : PAD 1.


  •  Sensitivity : 32 if you would rather not use them dynamically, if you do, lower this setup at your convenience.


  •  Threshold : 15 or above if the trigger is too much sensitive.


  • Curve : Doesn’t matter if sensitivity is set at 32, at your convenience if you use dynamics.


  • ReTrigg Cancel : 5 or above if you have double triggering once the threshold is set. If retrigg cancel is set too high, you could have some miss triggering issues.


  •  Xtlk : Not useful


  • H/R adjust : Not useful
  • Trigger Type : Kick 1.


  •  Gain : 17 


  •  Threshold : -12 


  • Curve : Norm.


  • Mask : 7 or above if you have double triggering once the threshold is set. If Mask is set too high, you could have some miss triggering issues.


  •  Xtalk : Not useful
  •  Configuration : 2 : dynamic.


  • Trigger Type : Misc 1.


  • MV1(Sensitivity) : 127 if you would rather not use them dynamically, if you do, lower this setup at your convenience.


  •  Gain : 50 or less if the trigger is too much sensitive.


  • Curve : Doesn’t matter if sensitivity is set at 127, at your convenience if you use dynamics.


  • Self Rej Time : 2 or above if you have double triggering once the threshold is set. If retrigg cancel is set too high, you could have some miss triggering issues.


  •  Rejection : Not useful


  • SPRej : Not useful

Coming soon

  •  Velocity Curve : Norm if you want dynamics, Fix 3 if you don’t.
  • Trigger Type : KK : Sensor.
  •  Gain : around 60 if you want dynamics, 127 if you don’t.
  •  Sensitivity : 7 or less if you have double triggering.
  • Reject Time : 6ms or above if you have double triggering once the threshold is set. If Reject Time is set too high, you could have some miss triggering issues.
  •  Min Level : 1
  •  Max Level : 100
  •  Min Velocity : 1
  •  Max velocity : 127


  •  Rejection : Not useful
  • SPRej : Not useful

Coming soon

If you’re still experiencing difficulties after trying these settings, please contact us, and we’ll be happy to help you optimize them.